

If you have saved images to iCloud, you do not need your iPhone or iPad to view them. PC and Mac users can access iCloud Photostream. This is enabled via the Picture Stream programme, which allows many users to share iCloud photos when the Photos Stream sharing option is enabled. Here are the steps you may take to access your iCloud photographs on your Mac or PC.
Part 1: How to View iCloud Photos Online
iCloud.com allows users to see iCloud photos on computer with Internet connection.
-
- 1.Open iCloud.com on your computer and log in with the same Apple ID as your iOS Device.


-
- 2.Select Photos from the listed menu and you will be displayed with all photo stream uploaded from your iOS device.
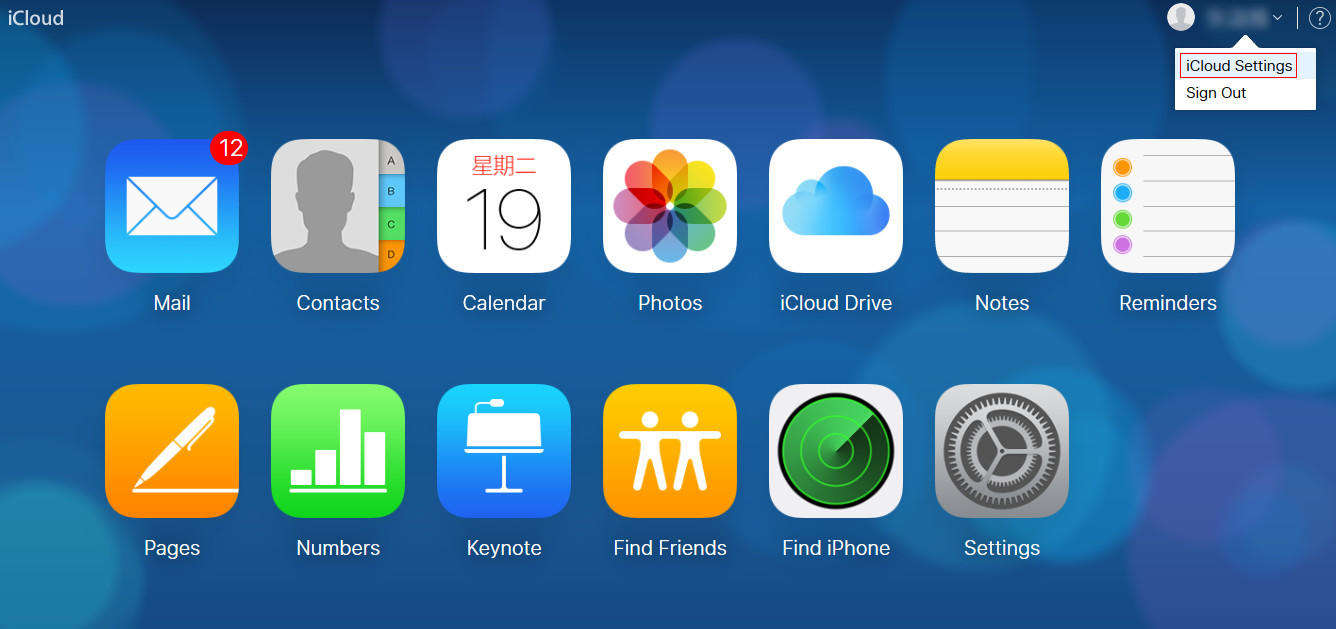

- 3.You can also click the Download icon to export iCloud photos to your computer, but this proved to be workable for single picture at one time.
Also Read: How to Utilise Google Bard, the Most Recent AI Chatbot?
Part 2: Access iCloud Photo Library on Mac
Here are some steps to access iCloud without iPhone from your Mac computer/ laptop.
-
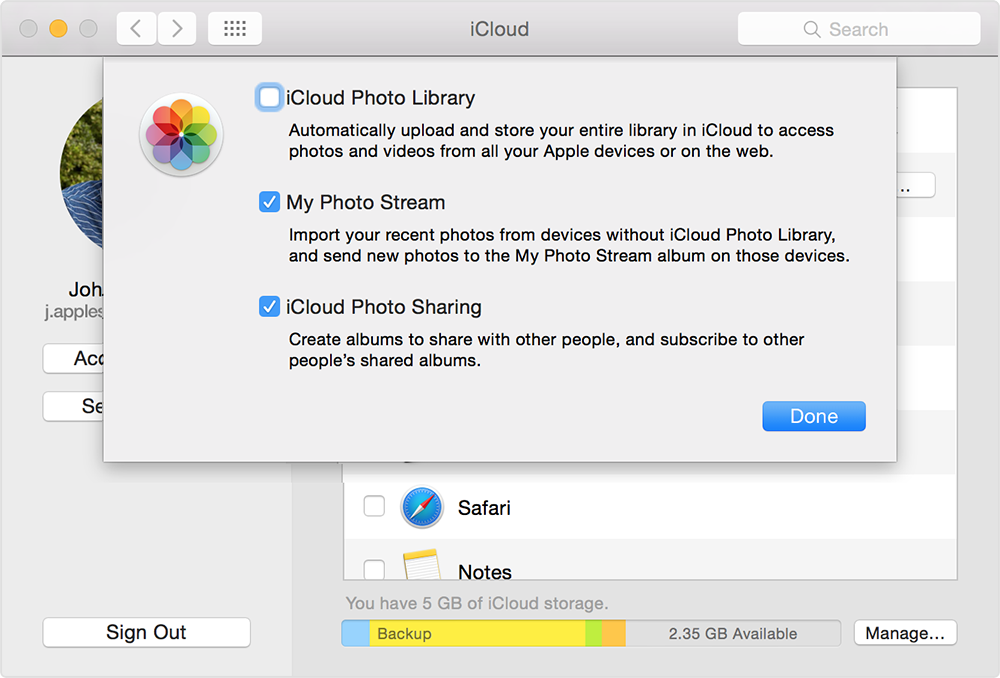
- 1.Navigate to “System Preferences” on your Mac desktop
- 2.On the System Preferences menu, click on iCloud and then tick the check box named “Photo”.
- 3.To confirm if Photo Stream is on, open Options and make sure it’s switched on alongside “iCloud Photo Libreary”, “My Photo Stream” and “iCloud Photo Sharing”.

Part 3: How to Access iCloud Photos using a PC
If you need to access iCloud photographs on a Windows PC, I recommend using Tenorshare iPhone Data Recovery, which can directly extract iCloud backup files and restore photos to PC. Below are instructions on how to utilise iPhone Data Recovery.
-
- 1. Download and install iPhone Data Recovery
Connect your Apple device (iPad, iPhone or iPod) to the PC that you’ve downloaded and installed iPhone Data Recovery into. Make sure the device is on before running iPhone Data Recovery. Then select Recover from iCloud Backup Files from the top menu.
- 1. Download and install iPhone Data Recovery

-
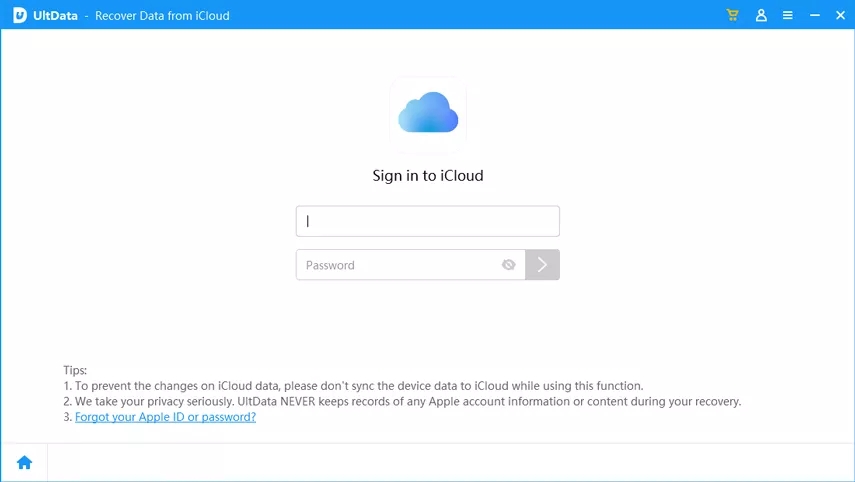
- 2. Sign in with your Apple ID
Log in with the same Apple ID with your iOS device and select a relative backup file contains your pictures.
- 2. Sign in with your Apple ID
-
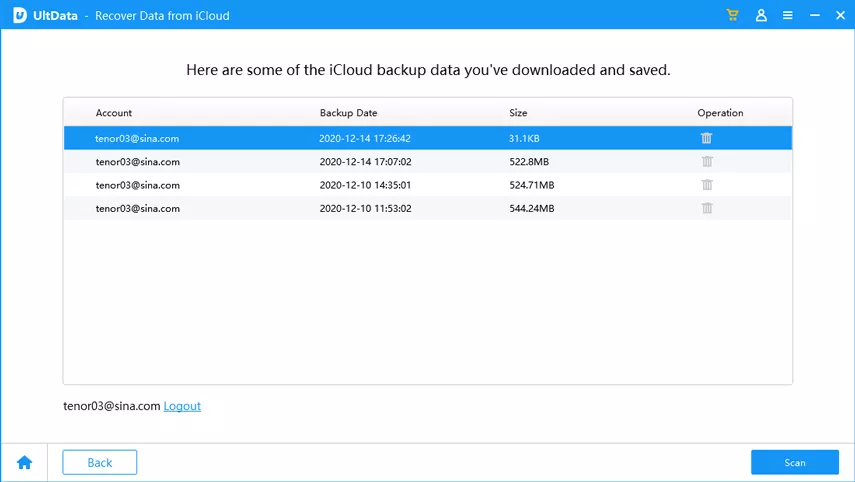
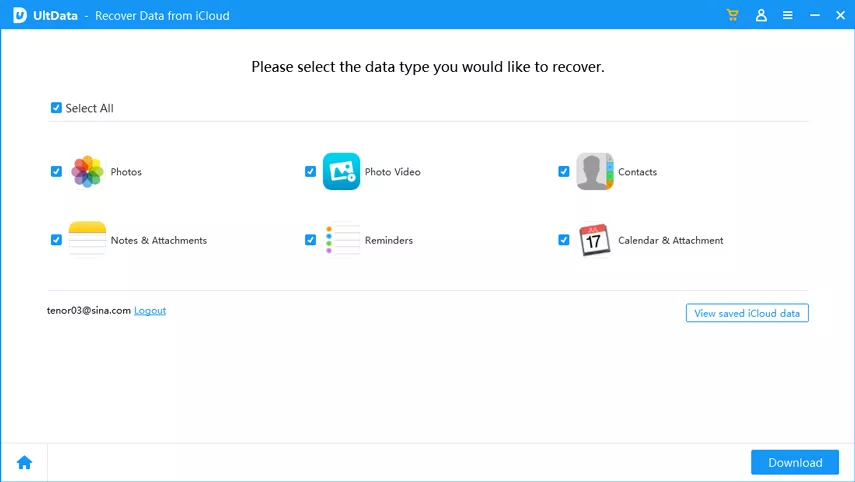
- 3. Choose the images to recover
After that, you can select the file types you want (photos in this case) if you are short on time. You can also use the “Select All” option. Click on the button named “Start Scan” to scan your device.
- 3. Choose the images to recover
- 4. Export iCloud photos to PC
UltData will display and allow you to preview the Photos you want and you should check the ones you need. Click on “Recover” and choose a preferred save location for your photos.
Video Guide on How to Access iCloud Photos on PC
