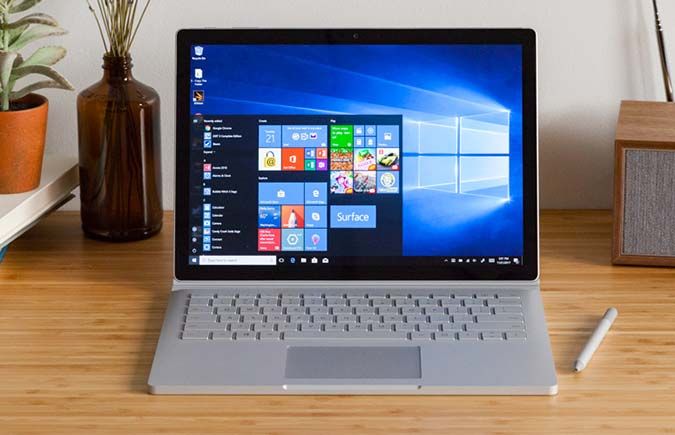
Updating the software on your laptop is a simple and effective method for ensuring that the system functions efficiently. When you update Windows 10, your computer will be equipped with the most recent features, bug fixes, and (most importantly) security updates.
Fortunately, Windows will check for system updates periodically and apply them automatically. Simply restart your computer to verify the updates are completely installed (to pause updates for up to 35 days, check out this guide). There are instances when you’ll want to manually check for updates, such as when an important security patch is being released or if you’ve encountered a significant flaw.
If you are currently using Windows 7, you should read this article to prepare for when the operating system reaches its end of life. After updating your laptop, consult our Windows 10 instructions for novice and advanced users.
How to Manually Update Windows 10
1. Select the Start (Windows) button from the bottom-left corner.

2. Go to settings (gear icon).

3. Select the Update & Security icon

4. Choose the Windows Update tab in the left sidebar (circular arrows)

5. Click the Check for updates button. If there is an available update, it will begin downloading automatically.

If you don’t see an update, don’t worry; this page will tell you if your hardware is currently incompatible.
Also Read: Google, Microsoft and 15 other technology companies headed by Indian-origin executives
How to Schedule a Windows 10 Update
1. From the Windows Update settings page (Step 4 from above), select “Schedule the restart” found next to “Restart now.”

2. You will then be taken to a scheduling page. From there, move the Schedule a Time slider to the right (the “on” position).

3. The grayed-out “Pick a time” and “Pick a day” options will then be available to select. Use the time ticker and the date drop-down to choose when to restart your laptop.


