
In search of a Mac cure for the Word file permission error? On your Mac, you are working on a Word document, but you are unable to save it. Then, when you attempt to view other Microsoft Word documents on your computer, the same file permission problem is unhappily displayed. What ought you to do?
Don’t panic, first and foremost. Incorrect file permission is not a serious problem. It only informs you that you lack the authorization to access or save Word files. This problem typically arises when you don’t have the authority to write to a certain drive or folder on your Mac.
Other offenders could be third-party fonts installed in your MS Word or “Read Only” files. We’ll assist you in returning to document writing today without incident. Seven potential options are provided. Here’s how to resolve the Mac Word file permissions issue. Let’s start now!
1. Update Your Microsoft Office and Mac Os Software
Before doing anything further, make sure your Microsoft Office and macOS are current. An OS or app update can fix some small problems. After all, patches and new features that can fix various software problems are frequently included with system upgrades.
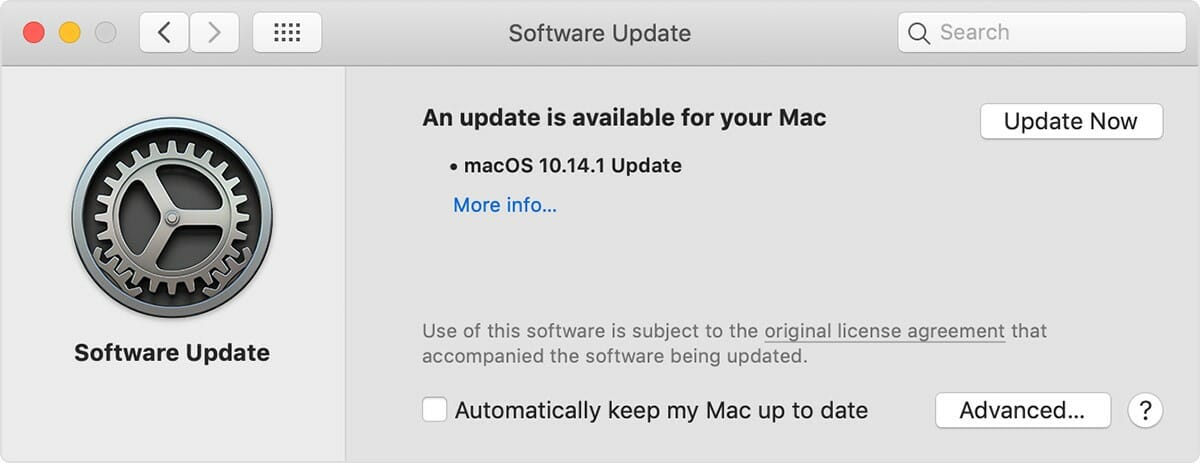
How to check for macOS updates is as follows:
- On your Mac, click the Apple menu.
- Then, select System Preferences.
- Now, click Software Updates.
- If there’s an available update, click Upgrade Now.
Read More: How to Fix Unfortunately Settings Has Stopped in Android: A Step By Step Guide!

How to update Microsoft Office is as follows:
- First, open Microsoft Word. If that isn’t possible, open any Microsoft Office application.
- Next, click Help on the menu bar.
- Select Check for Updates.
- On the next window, click the Update button next to Microsoft Word.
2. Restart Word and Mac in Order to Fix the Mac File Permission Error
Restarting the computer and the software is a solid remedy for any software problems. This will assist in getting rid of any unnecessary memory or errant bugs that may have caused the Word file permission problem on your Mac. Give it a shot; it might be the solution you’re looking for. How to use this approach of troubleshooting is as follows:
- First, close the Word file that showed the File Permission Error.
- Wait for around 30 seconds. Then, open it again.
- If the issue persists, restart your computer.
- Open the Word file once your Mac is back on. See if you still encounter the problem.
Do you require a different solution to the Word file permissions issue? Peruse the list below.
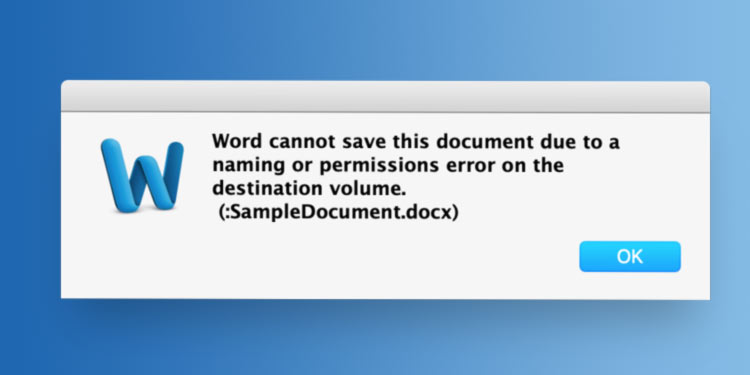
3. Modify the Word File Permission to Resolve the Mac Error
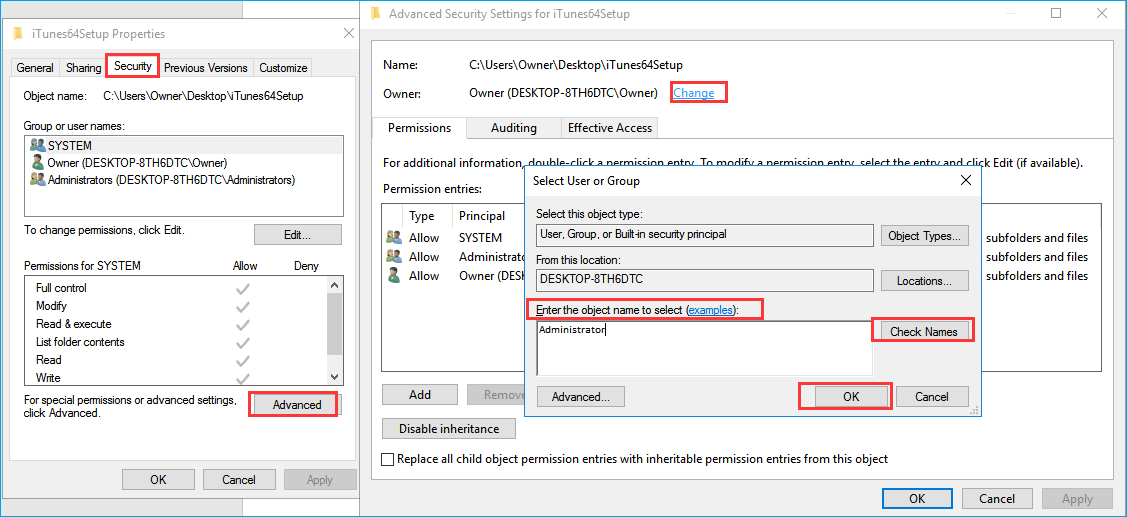
You require authorization to access or save a Word file, as the error message indicates. Most likely, the issue file has a “Read-only” setting. Fortunately, you can fix it by switching the privilege settings for the Word file from “Read-only” to “Read & Write”. The procedures to modify the Word file permission are as follows:
- Choose the folder that the file is in first.
- Next, choose to Get Info from the context menu by right-clicking on the folder.
- The information dialog box will show up. Click the drop-down arrow next to the Sharing and Permissions tab after finding it.
- Following that, you will see the current users and privileges. A tiny lock icon will also be visible at the dialogue box’s bottom. Select that icon.
- Enter the administrator credentials at this time.
- You will now notice an enabled Privilege button (an up and down arrow). Look on the user list for your name. Click the Privilege button and select “Read & Write” if the privilege setting for your name is “Read-only.”
- When you’re done, select the ring icon with three dots that are located at the bottom of the info dialogue box. Select Apply to the Enclosed Items after that.
4. Remove The Normal. dotm File
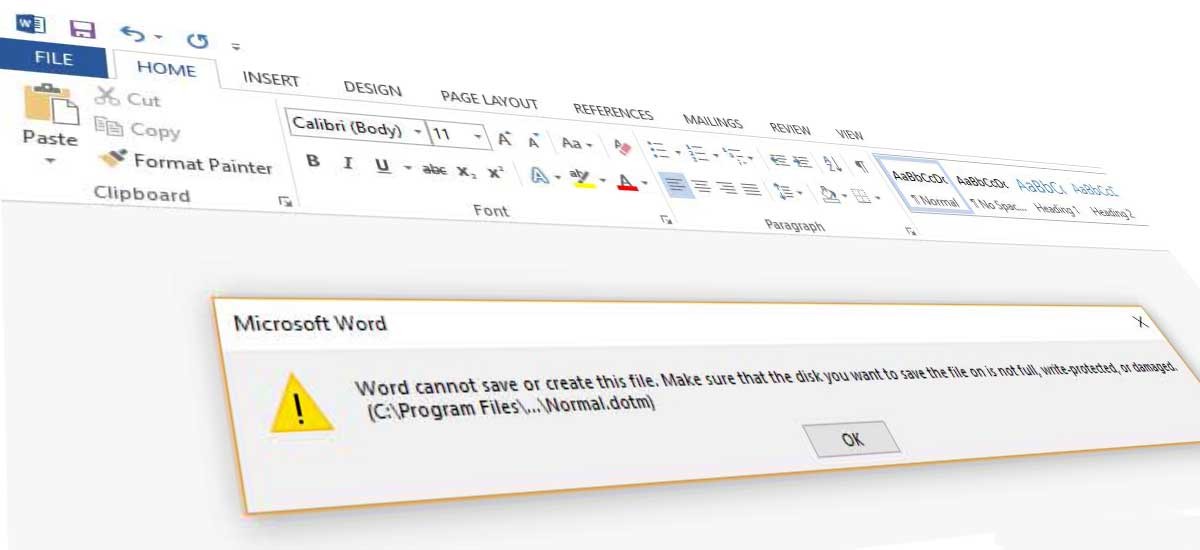
Try deleting the Normal.dotm file on your Mac if altering the privilege settings doesn’t work. Every time Word needs to produce a new document, it utilizes this file as its default template. This file may have been harmed by malware or random flaws.
Don’t worry; it’s okay to remove the Normal.dotm file. The next time it generates a new document, Microsoft Word can regenerate one. According to many users, deleting the Normal.dotm file resolved their Word file permission error. Here’s how to apply this repair:
- First, quit Word if you still haven’t closed the app.
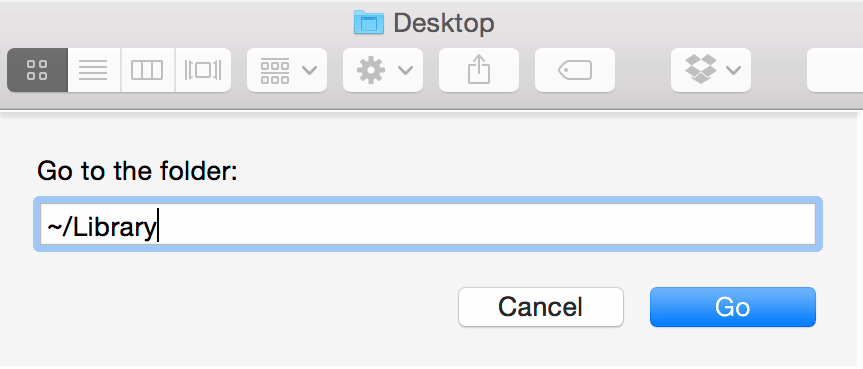
- Next, press these keys: Command + Shift + G. Then, hit Enter.
- The Go to Folder will open. Type the following on the folder path
- Find the Normal.dotm file and delete it.
- Lastly, open the Word file again and see if you can now write without a hitch.
Do you continue to receive the file permission error message? It’s time to look into further offenders.
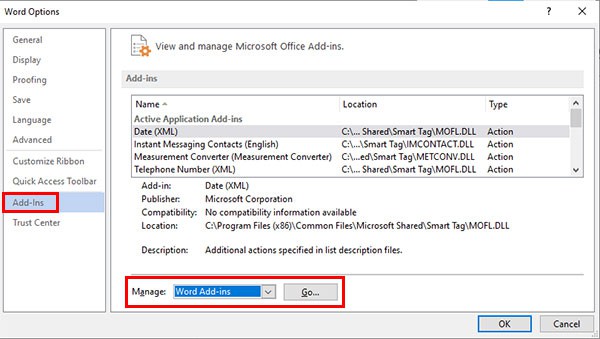
5. Turn Off Unofficial Fonts on Your Mac

A file permission problem might also be brought on by third-party fonts that you have installed in Microsoft Word. It pays to turn off certain typefaces and check to see if the problem goes away.
Here’s how to stop using external fonts:
- On your Mac, launch the Finder app.
- Then, click Applications on the left-side menu.
- Next, locate the Font Book app.
- Select the third-party fonts or font families. Then, click Edit on the menu bar. Then, select Disable “Font Name/Family” on the drop-down menu.
- Click Disable to confirm the action.
- Lastly, open the problematic Word file and see if you can write and save it successfully.
6. Delete the Cache and Preference Files for Microsoft Office
In addition to third-party typefaces, caches and preference files may also be at fault. These Microsoft Office temporary files could be the root of your Word issues. Best to find them and remove them. Your Mac and Word will function more effectively in this fashion.
To erase preference files, follow these steps:
- First, quit Word and other Microsoft Office apps if they are open.
- Then, launch Finder. Select Applications on the left-side menu.
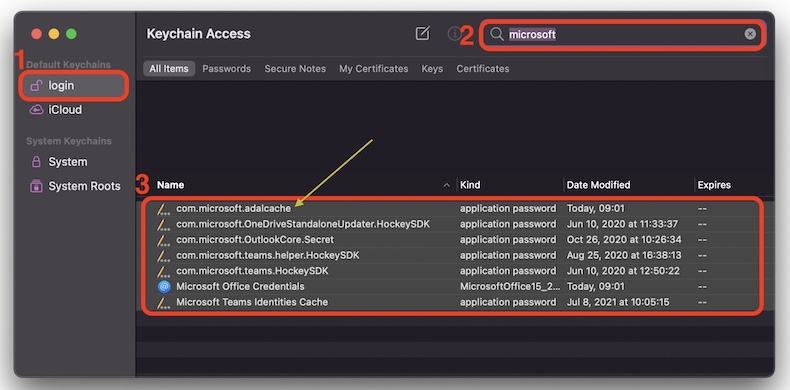
- Next, click Utilities. Then, locate and open the Keychain.
- In the Keychain window, look for the search field. Type “Adal.”
- Look through the results and delete all the entries that begin with “com.Microsoft” (Example: com.Microsoft.Adalcache).
- Lastly, exit Keychain. Then, don’t forget to delete preference files, too.
Read More: How to Fix the Power Button in iPhone in 5 Best Ways?
Here’s how to delete preference files:
- Go back to Finder.
- Click Go. Then, select Go to Folder.
- Type the following in the search field
- The Preferences folder will open. Locate this file name and delete it
- Finally, restart your Mac.
7. Modify the Home Folder Permissions
Read More: How to Fix Screen Freeze on iPhone 11 After Updating iOS 16A step By Step Guide!
If none of the aforementioned fixes were successful, consider modifying the Home Folder permissions. All user files will be unlocked using this technique, and their ownership and control will be reset to default. Any special settings you’ve made for those files must be redone.
Your system files won’t be impacted by this procedure. Once more, it will only unlock all of your Mac’s user files. But you should always make a backup of your files, especially those with customized properties. Here’s how to apply this repair:
- On your Mac, first, click the Apple logo in the top-left corner.
- Choose Restart. Hold down the Command + R keys fast to launch Recovery Mode.
- It will then display the macOS utility window. Select Utilities from the top menu.
- Select Terminal next.
- Enter the following command into the Terminal window:
- You’ll see a Reset Password window. Leave all password settings alone. Search for the Reset Home Folder Permissions and ACLS section instead by scrolling down. This section has a Reset button. Press that button.
- Enter your password if prompted. Your Mac will restart after that.
- When your computer has restarted, try opening any Word document.
I’m done now. Hopefully, at least one of the methods has been successful for you. Share your experience with us. And don’t be afraid to let us know if you have any more Mac-related problems. In the comment area or on our upcoming how-to page, we’ll try our best to respond to them.